Click on the link "Intranet Administration".

Creating an events calendar involves three steps.
Click on the link "Intranet Administration".

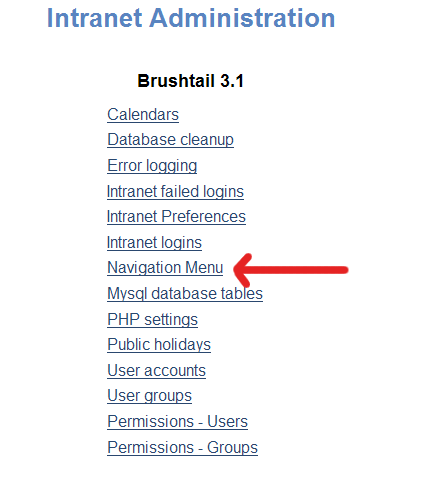
Click on "Navigation menu"
Use the "Add to main menu" form to create a calendar module.

Click on the link "Intranet Administration".

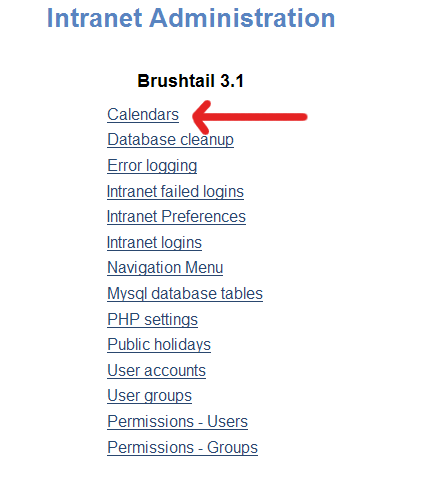
Click on "Calendars".
Any currently defined event types will be lsited. Below this is an Add Calendar
Usage Type form.
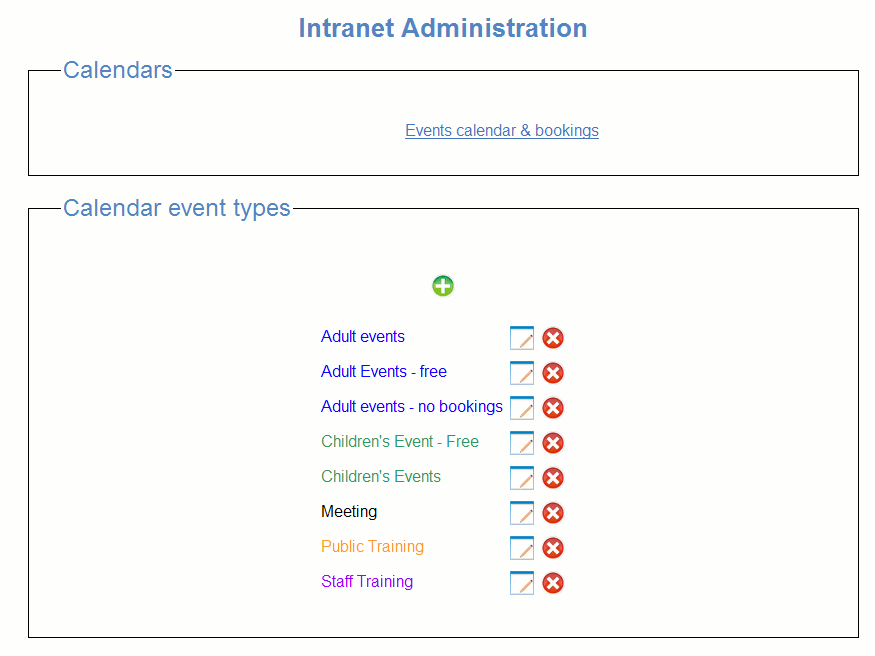
When you add or edit an event type, there are a number of paramters that affect the behavious of the event type..
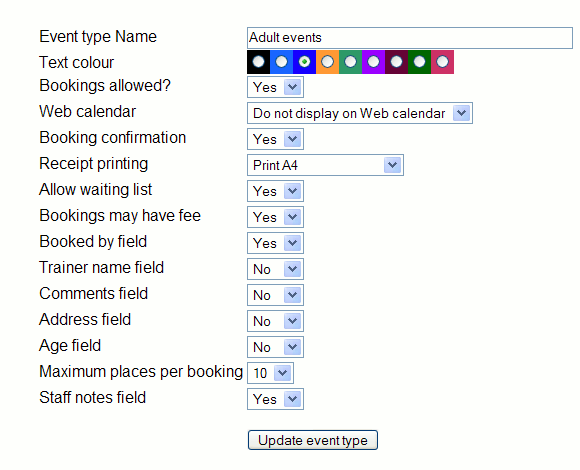
Text colour - Affects the text colour of events on the calendar.
Bookings allowed - Determines if an event may take bookings.
Booking confirmation - A field that indicates if a booking
has a confirmed status.
Receipt printing - Allows receipt printing ( full page, transaction
printer or none).
Waiting list - If this parameter is enabled and an event is fully booked,
then bookings may be added to a "waiting list".
Bookings may have fee - Bookings will have a paid/not paid
status field.
Staff name field - Booking form includes field for staff member
taking booking.
Trainer name field - Event description includes field for trainer
name.
Comments field - Booking form has field for comments.
Age field - Booking form has field for age. Used for youth
activities.
Address field - Booking form has address field. Used for internet
training.
Maximum places - Allows a booking to book a number of places
under one name. Often used in children's events.
Staff notes field - A field for instructions to staff about
bookings.
On the Calendars page there will be a listing of calendar modules.

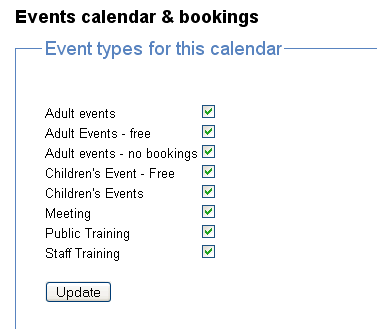
By clicking on a module in this list, you will get a listing of the available event types for this calendar. Select the event types you want for the calendar.
